
Magical Fall Nature Crafts
Are you ready to jump into some spooky and magical fall nature crafts with your forest school students? Check out some of these easy, fun crafts you can do with minimal materials that result in maximum joy.
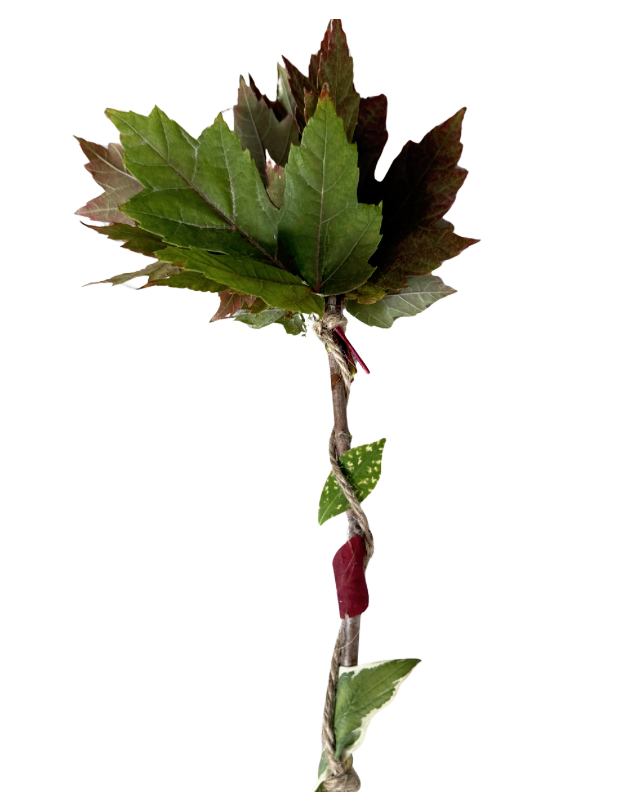
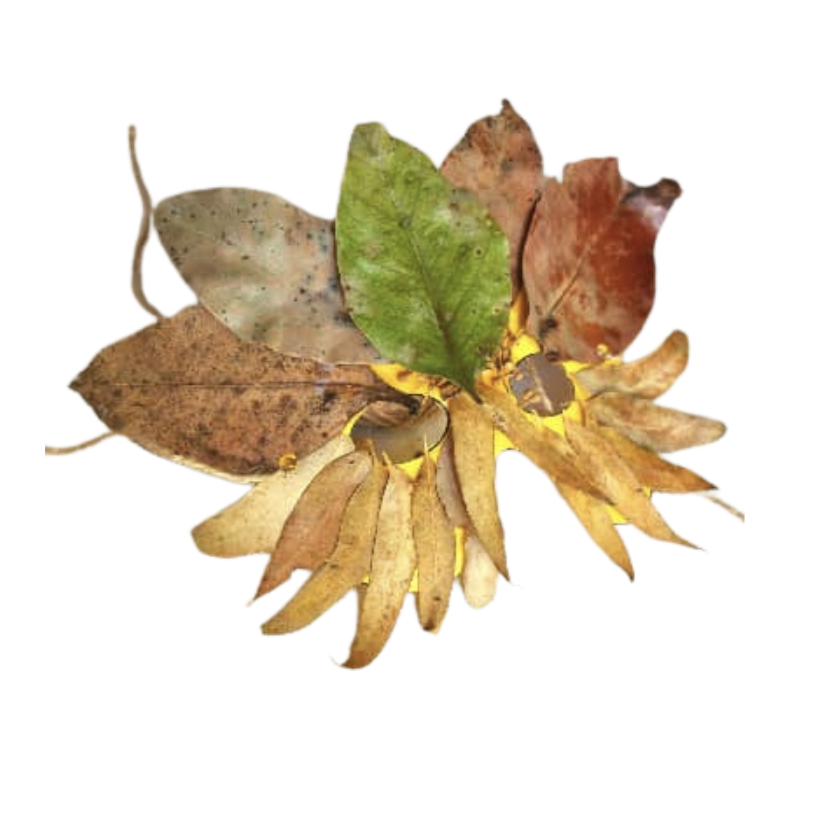
Make a Nature Wand
Materials: leaves, stick, twine, scissors
Directions:
Collect leaves and a stick.
Cut a medium length piece of twine or yarn. Gather all of the leaves around the top of the stick and use the twine to tie them all to the stick. Leave ample twine at one end.
Use the remaining twine to wrap down and around the length of the stick, tying it off at the end.
Add some extra nature magic! Collect other leaves, petals, grasses, etc and weave them throughout the twine down the stick.
Voila - Enjoy your new magical nature wand!
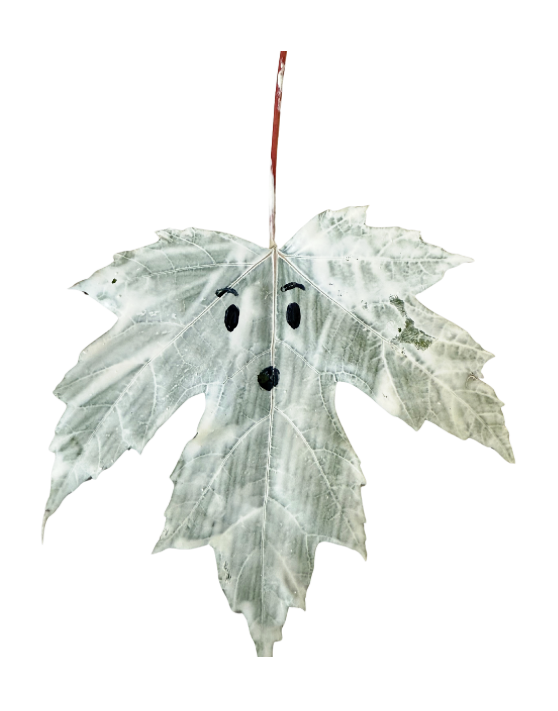
Make a Ghost Leaf
Materials: leaves, white paint, paintbrush, dark marker
Directions:
Collect leaves - the lighter colored leaves are easier to paint over!
Paint the leaf white. Let dry. Repeat by painting the back of the leaf white also.
Once fully dry, use a dark marker to draw on a silly or spooky face!
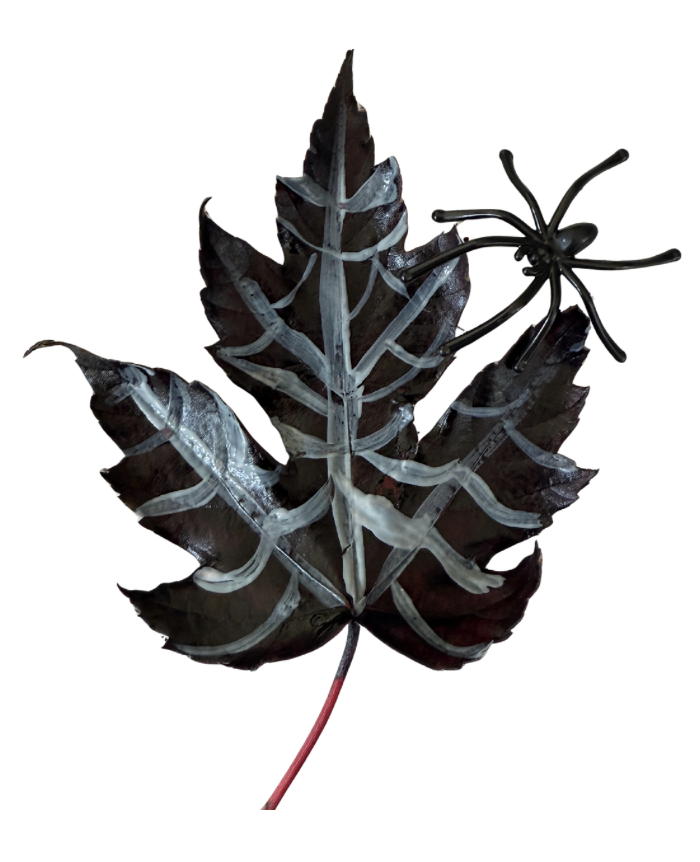
Make a Spider Web Leaf
Materials: leaves, black paint, paintbrush, white paint (or white/silver marker)
Directions:
Collect leaves - the darker colored leaves are easier to paint over.
Paint the entire leaf black. Let dry. Repeat by painting the back of the leaf black too.
Once fully dry, paint (or draw) on the lines of the spider web!
Bonus if you add a little spider to your web!
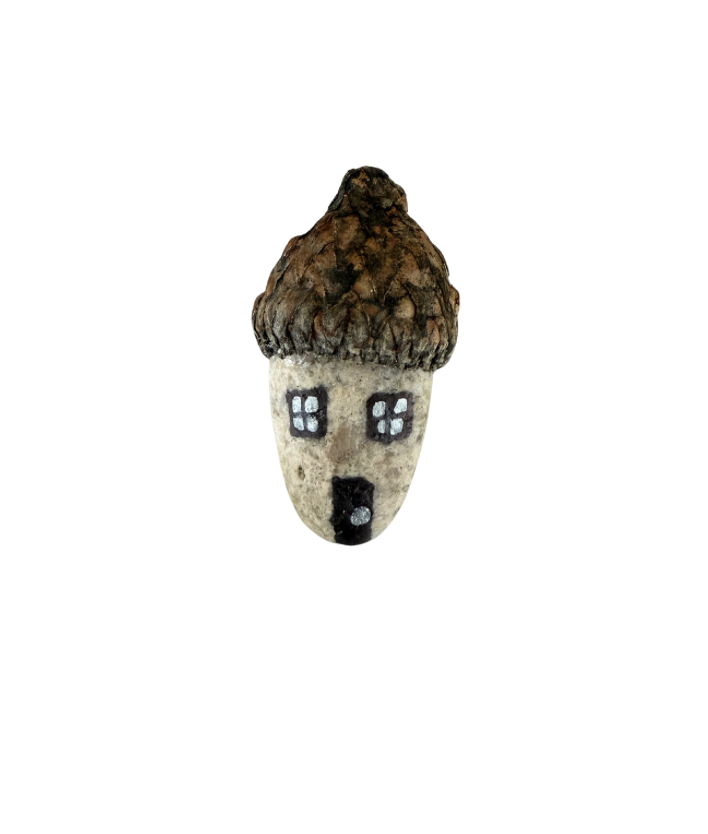
Make an Acorn Home
Materials: tiny acorn caps, small rocks, paint pens (or regular Sharpie type pens, glue
Directions:
Collect acorn caps and small rocks - try popping the caps on to see which will fit!
Glue the acorn cap to one of the small rocks. Most glues should work, but superglue will provide the most secure hold.
Using paint pens (or permanent markers), add the house’s features - windows, doors, doorbells, etc.
Find a nice place in a garden box or yard to place your new little home!
Make an Owl Leaf Mask
Materials: brown paper sacks, pencil, scissors, glue, leaves, twine or yarn, hole punch (optional)
Directions:
Draw the basic mask shape and cut it out of a brown paper sack. Make sure to measure for the distance between eye holes that will work for your child.
Go out and collect leaves - the more colors and sizes the most magical the mask will become!
Glue the leaves all around to cover the mask, making sure to leave the eye holes fully open. Let it dry.
Once dry, use a hole punch or scissors to cut a hole on each end, where you can add twine or yarn pieces on to tie around the head for securing it during use.
Wear the mask and fly around like an owl!
Photo Attribute: Mother Natured